
transformative ingredients, backed by leading scientific research


the science behind our skincare
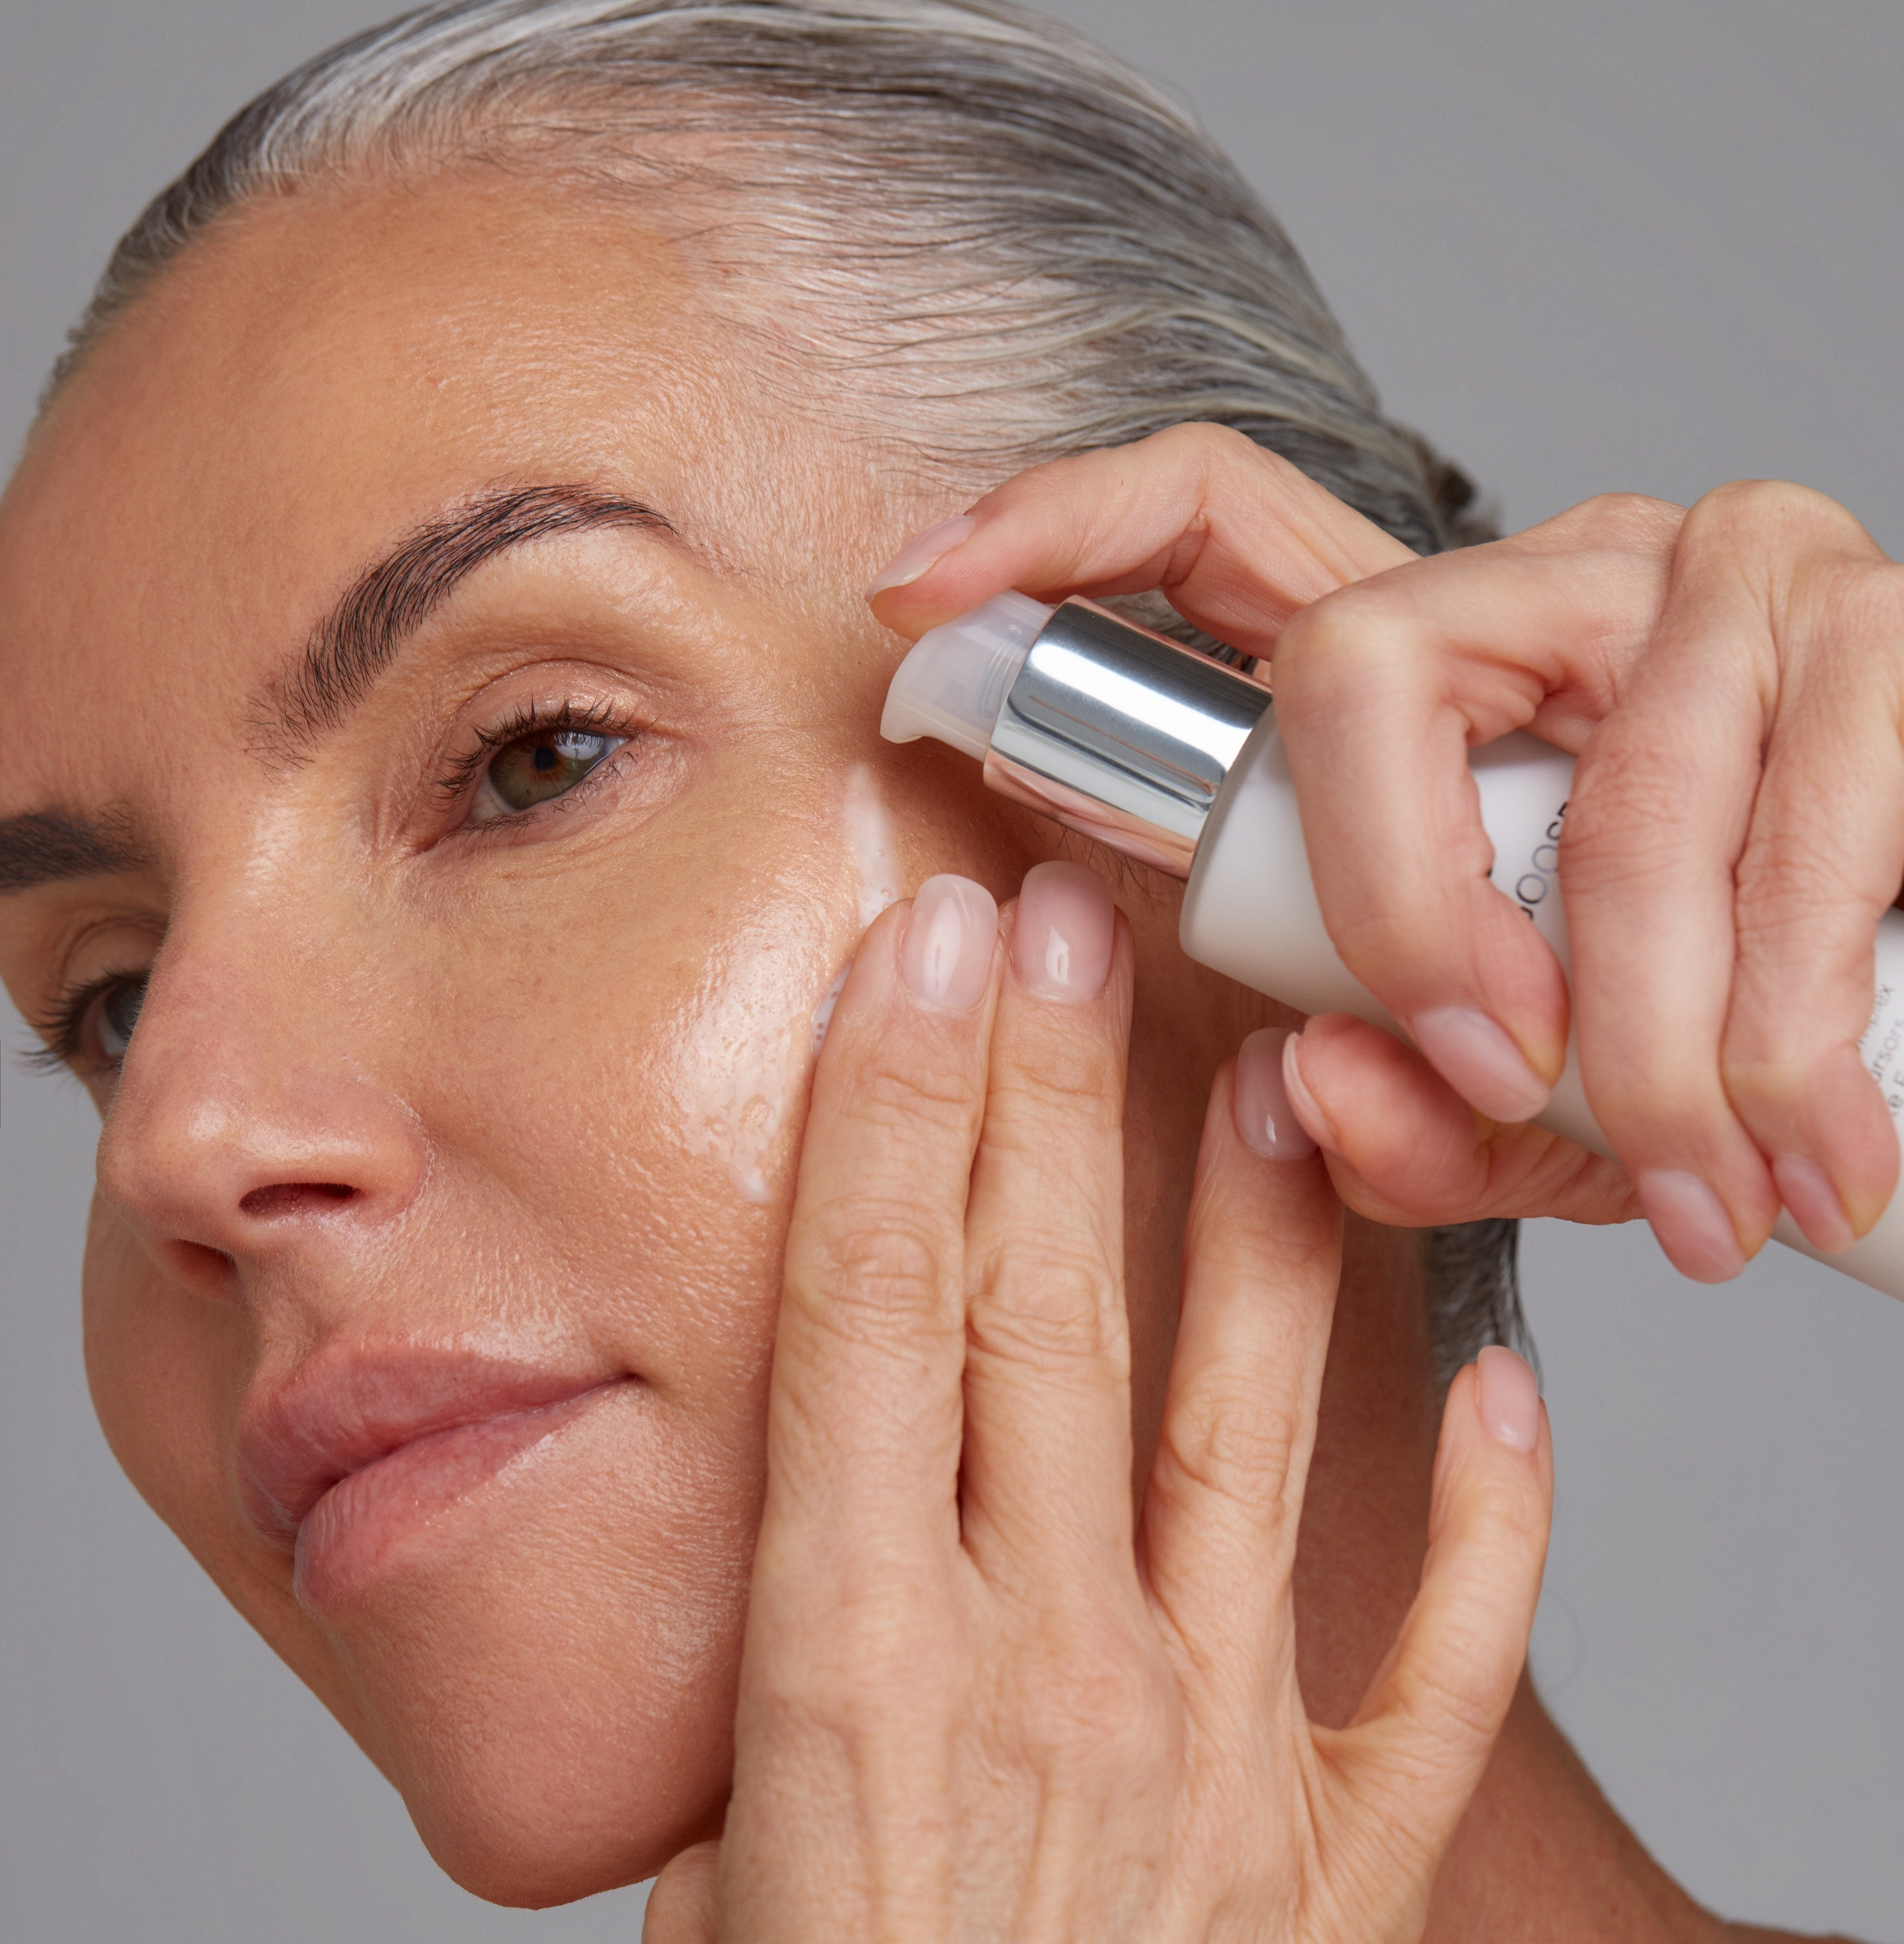
Our skincare is formulated to reawaken your skin's dormant regenerative powers, rewinding it back to its youthful state.
We are proud to be first brand to use breakthrough molecules such as NAD+ boosters and CelVio™️ Spermidine, that increase cellular energy, aiding in reversing visible signs of aging. Supported by 350 clinical studies and leading research institutions, our science-backed formulas deliver visible, long-lasting results.
By utilizing cutting-edge ingredients at optimal concentrations, we guarantee each product offers the best in skincare innovation.
download our protocols
-

winter Young Goose protocol
Download now -

longevity protocol
download now -

advanced longevity protocol
download now -

oily and blemish prone skin protocol
download now -

rosacea protocol
download now -

dry skin protocol
download now -

hyperpigmentation protocol
download now -

pbm enhancement protocol
Download now -

pregnancy protocol
download now -

body treatment protocol
download now -

elastin action protocol
download now


We meticulously select ingredients that not only address current skincare needs but also support skin health and longevity. This means you’re not just treating your skin today; you’re investing in its future vitality. Our commitment to research and collaboration with leading scientists ensures that each product works to enhance your skin's resilience, youthfulness, and overall well-being.
from our blog
View all-

What Are Copper Peptides? The Science Behind Copper Peptides for Skin
Many traditional skincare approaches focus on visible signs of aging without addressing the biological mechanisms that are responsible for skin aging. But copper peptides have emerged as an ingredient that is used in longevity-focused skincare due to their ability to support cellular repair and target regeneration at a deeper level. In this article, you will learn: What copper peptides are, and how they function within the skin The biological role of GHK-Cu in collagen production and tissue repair The science-backed benefits of copper peptides for skin longevity How to incorporate copper peptides into a skincare routine The Science Behind Copper Peptides If you’re wondering what are copper peptides they are short chains of amino acids that come in all shapes and sizes and bind to copper ions. The most studied form, GHK-Cu, occurs naturally within human plasma and has gained significant attention for its ability to support structural regeneration. What makes GHK-Cu unique is its dual-action mechanism. It stimulates new collagen production while also preserving existing collagen. This helps maintain the structural architecture that keeps skin appearing firm. Stimulating collagen is a highly energy-intensive process, which is why copper peptides are often paired with other ingredients for optimal skin regeneration. Benefits of Copper Peptides for Skin Copper peptides and collagen production Aging gradually shifts the balance between collagen synthesis and collagen degradation. As this production deteriorates, skin can begin to lose elasticity and firmness. Copper peptides help counteract the deterioration of structural equilibrium through a dual-action mechanism. GHK-Cu works by stimulating new collagen while activating tissue inhibitors of metalloproteinases (TIMPs), which help protect existing collagen. Copper Peptides for skin repair and regeneration Structural repair is an energy-intensive process within the skin. Every stage requires a substantial supply of cellular energy to function efficiently. This is why copper peptides and methylene blue have an important relationship. GHK-CU provides the biological signals that support structural repair, while methylene blue helps optimize mitochondrial energy production by supporting the electron transport chain and increasing ATP output. Antioxidant and anti-Inflammatory effects Oxidative stress is one of the main drivers of visible skin aging. Over time, their accumulation can contribute to oxidative stress and accelerated skin aging. Copper peptides can have antioxidant effects on the skin, particularly GHK-Cu, which studies have shown can decrease the risk of infections. Through their antioxidant activity, copper peptides help protect the skin from free radical damage, preserving resilience and supporting long-term skin health. Copper peptides and skin tone uniformity It’s a misconception that skin quality is influenced by surface appearance alone. The integrity of the underlying structural matrix plays a critical role in how resilient and youthful skin appears. As copper peptides can support ongoing structural repair, they reinforce the biological foundations, contributing to overall skin quality. How to Use Copper Peptides in Your Skincare Routine Integrating copper peptides into your daily skincare regimen supports the biological processes responsible for structural repair and long-term skin resilience. Consistent application is essential, as the cumulative benefits of collagen support and tissue preservation develop over time to reinforce the skin's structural foundation. If you’re using a blue peptide spray, apply it immediately, straight after cleansing and before facial serums and moisturizers. This primes the skin and ensures optimal absorption of the active peptides. You can also mist over makeup throughout the day to restore hydration and boost mitochondrial function. However, if using a serum containing copper peptides, then follow this order: Cleanse/exfoliate Tone Copper peptides serum Moisturizer SPF Apply serums and moisturizers in a gentle upward motion. To ensure you are not inadvertently limiting your results, listen to our podcast on the mistakes you’re making with your skincare. Side Effects of Copper Peptides When incorporating copper peptides into your routine, it’s advisable to start with a lower concentration to assess the skin’s responsiveness to the formulation. For spray-based applications, keep a distance of 3 inches or more from the skin to ensure even distribution across the surface. The gradual introduction also helps optimize skin adaptation and minimize temporary redness or irritation. Copper Peptides Frequently Asked Questions Can you use copper peptides with retinol? Yes, copper peptides can be combined within an evening skincare protocol. Each formula works strategically to maintain skin barrier resilience. Retinol accelerates cellular turnover and supports copper peptides that reinforce regenerative signaling pathways. To optimize compatibility, apply the copper peptide formulation first and allow approximately ten minutes for full absorption before applying the retinol. This sequential approach will allow each active to interface with its intended biological pathways. Which is better? Retinol or copper peptides? Retinol and copper peptides serve distinct biological functions, making them complementary rather than competing interventions. Recognized for its ability to accelerate epidermal renewal, retinol helps improve the appearance of fine lines and uneven texture. In contrast, copper peptides support tissue repair and regenerative communication within the skin. Can I use copper peptides with Vitamin C? Yes, copper peptides and Vitamin C can be applied sequentially. To optimize the results, allow the copper peptide formulation sufficient time to absorb. Similar to retinol, these bioactive compounds operate through complementary mechanisms. Vitamin C is a crucial biological cofactor required to hydroxylate collagen molecules. For a deeper understanding of Vitamin C's role in collagen production, listen to our podcast on why collagen doesn't work without Vitamin C. What products should you avoid mixing with copper peptides? Copper peptides demonstrate broad compatibility within advanced skincare protocols. However, formulations that have a high acidic count, such as certain AHAs and BHAs, can interfere with peptide stability. Maintaining separation between high-acidic exfoliants and copper peptides helps preserve the integrity of both formulations.
What Are Copper Peptides? The Science Behind Copper Peptides for Skin
Many traditional skincare approaches focus on visible signs of aging without addressing the biological mechanisms that are responsible for skin aging. But copper peptides have emerged as an ingredient that...
-

What Are Peptides in Skincare? The Science of Skin Longevity
Peptides have become one of the most widely studied ingredients in modern skincare, yet many people still ask: what are peptides in skincare, and why are they important for skin health? To find out more about the science of peptides, continue reading. What Are Peptides? Peptides are short chains of amino acids that function as biological signaling molecules within the skin. These molecular messengers facilitate cellular communication, which helps regulate the processes involved in repair and structural maintenance. Within the skin, naturally occurring peptides known as matrikines are released during the breakdown of collagen and elastin. These are two essential proteins that provide structural integrity and elasticity. Collagen contributes to the skin’s firmness, and elastin enables tissue to stretch and return to its original form. As the skin ages, collagen and elastin production gradually decline, contributing to visible changes in skin quality. This shift can appear as reduced firmness and the formation of fine lines and wrinkles. Topical peptides interact with the skin's natural signalling pathways, supporting the cellular processes involved in collagen maintenance and barrier integrity. For a deeper understanding of the skin barrier, read our comprehensive guide to longevity skincare. What Do Peptides Do for Skin? Peptides serve distinct purposes in skincare, with different peptide types designed to target specific concerns. Some peptides support key structural proteins involved in skin integrity, contributing to visible improvements in skin texture and firmness over time. Others help soothe visible signs of irritation or support the skin barrier. Certain peptides, known as carrier peptides, can also help transport biologically important elements within the skin. One of the most well-studied examples is GHK-Cu (copper peptide), which supports processes involved in tissue repair and collagen synthesis. Because collagen production is highly energy-dependent, advanced formulations often combine peptides with complementary ingredients that support cellular energy and repair pathways. Benefits of Peptides in Skincare Peptides contribute to skin health across several interconnected pathways, from structural support to barrier function. Improved skin barrier support The skin barrier serves as the body’s first line of defense against environmental stressors and moisture loss. Certain peptides support barrier integrity by influencing the cellular processes involved in lipid production and skin repair. These lipids are essential components of the skin barrier to protect against external aggressors. Reduced appearance of fine lines and wrinkles Peptides may help reduce the visible appearance of fine lines and wrinkles by signalling cellular processes involved in collagen and elastin synthesis. To explore how this fits into a longer-term skin health strategy, read our guide on combating wrinkles. Types of Peptides in Skincare Peptides are not a single-category ingredient. Different peptides interact with distinct biological pathways. Understanding these differences can help explain why peptides are among the most versatile ingredients in longevity-focused skincare. Carrier Peptides Carrier peptides help transport biologically important minerals to the skin, most commonly copper and manganese. These minerals are involved in essential cellular processes such as collagen synthesis. Neurotransmitter-Inhibitor Peptides Neurotransmitter-inhibitor peptides regulate the communication between nerves and facial muscles. They can help reduce the visible appearance of expression lines by modulating nerve-to-muscle communication. Enzyme-Inhibiting Peptides For healthy skin, there needs to be a balance between collagen production and collagen degradation. Enzyme-inhibiting peptides help maintain this balance by regulating matrix metalloproteinases (MMPs), enzymes that break down collagen. Structural peptides Structural peptides directly support the integrity of specific proteins. Some are derived from keratin and work to reinforce the skin's surface, smoothing texture without altering signalling pathways. Signal Peptides These work by mimicking the breakdown products of collagen. When the skin "reads" these fragments, it interprets them as a sign that repair is needed and increases production of collagen, elastin, and fibronectin. Signal peptides are among the most widely studied peptide types in longevity skincare, with a meaningful body of clinical evidence supporting their use. How to Use Peptides in Your Skincare Routine Incorporating peptides into your skincare routine can help support the biological processes responsible for collagen maintenance. Consistency is key, as the benefits of peptide-based skincare accumulate over time through ongoing support of the skin’s repair. A peptide-focused morning routine may follow this order: Cleanse Peptide spray Peptide serum Moisturizer SPF (morning only) For those taking a longevity-focused approach, peptides can be paired with complementary ingredients that support cellular regeneration. Formulations such as YouTH Reset Serum combine peptide technologies with spermidine, which supports autophagy and cellular renewal. Learn more about the role of spermidine and how it can reset your skin in our guide. Alternatively, L.A.D.R. Serum combines peptides with NAD+ APEX™ to support DNA repair pathways and address visible signs of cellular aging. To complete your routine, a peptide mist such as the Blue Peptide Spray can be applied to prime the skin before serums and moisturizers or throughout the day to help maintain hydration. Ready to learn more about how peptide technologies fit into a longevity-focused skincare routine? Try our personalized quiz to find the most suitable product for your age and skin type. Peptides Frequently Asked Questions Are peptides suitable for sensitive skin? Peptides are well tolerated across most skin types, including sensitive or reactive skin, and work with the skin's natural processes rather than creating surface disruption. Some peptides, such as copper peptides (GHK-Cu), are also known for their soothing properties and their role in supporting skin recovery. This makes them particularly useful for compromised skin or post-procedure recovery. Can I use peptides every day? Yes, daily use is not only safe but recommended. Peptides work through repeated signaling, supporting skin function cumulatively over time. Consistent application allows the skin to continually receive these cellular signals, which is important for supporting targeted extracellular matrix density and structural volume. Most people use them once or twice daily, depending on their routine. What ingredients pair well with peptides? Peptides work well alongside most skincare ingredients. Hyaluronic acid helps support hydration, while niacinamide strengthens the skin barrier and improves overall skin function. Antioxidants like vitamins C and E help reduce oxidative stress, which complements peptide activity. Peptides also pair well with NAD+ precursors to support cellular energy production. Exosomes, however, are best used in a separate product rather than combined with peptides or NAD+ precursors in the same formula. You can still include all three in your regimen by using them at different steps.
What Are Peptides in Skincare? The Science of Skin Longevity
Peptides have become one of the most widely studied ingredients in modern skincare, yet many people still ask: what are peptides in skincare, and why are they important for skin...
-

Spermidine Skincare: The Science of Cellular Autophagy and Longevity
Traditional cosmetic paradigms frequently prioritize superficial trends over cellular integrity. In contrast, advanced longevity research has identified spermidine skincare as a foundational mechanism for true physiological optimization. Spermidine is globally recognized for its ability to stimulate autophagy, which is the essential biological recycling process that clears damaged proteins to reverse cellular degradation. This polyamine compound offers a highly targeted approach to biohacking skin health, prioritizing structural metabolic function over temporary cosmetic enhancements. In this article, you will learn: What spermidine is and its precise biological mechanism within cutaneous tissue The clinical evidence linking polyamines to cellular longevity and biological age optimization How spermidine up-regulates collagen synthesis and modulates the cellular inflammatory response How to seamlessly integrate this advanced autophagy protocol into your daily longevity routine What is Spermidine? Spermidine is a naturally occurring polyamine synthesized within living cells that plays a critical role in systemic cellular renewal and homeostasis. Beyond endogenous human production, this vital molecule is found in specific dietary sources such as mushrooms, aged cheese, wheat germ, and soybeans. With chronological aging, endogenous spermidine production declines significantly, leading to cellular depletion. To maintain optimal levels, it must be introduced via systemic dietary intake and targeted topical spermidine skincare. In simple terms, as your body produces less of this longevity molecule over time, supplementing it externally helps keep your cells functioning efficiently. Spermidine Benefits for Skin The performance benefits of topical spermidine are directly linked to biochemical pathways that reinforce structural skin architecture and optimize cellular health span. Spermidine's Role in Cellular Longevity Chronological aging systematically degrades cutaneous efficiency. Over time, metabolic replication slows down, allowing cellular debris to accumulate, which manifests as structural deep lines, loss of elasticity, and compromised vitality. Spermidine directly counteracts this metabolic decline by triggering autophagy, the critical internal cellular recycling system that clears out damaged proteins and dysfunctional components. By cleansing the cell at a foundational level, it enhances structural resistance to oxidative stress and environmental damage. This means that instead of just covering up surface issues, it assists your cells in repairing themselves from the inside out. Review our comprehensive guide to longevity skincare to strategically extend your skin barrier health span. Anti-Inflammatory Properties of Spermidine Clinical evidence demonstrates that spermidine modulates systemic inflammatory pathways, mitigating the chronic, low-grade inflammation often referred to as inflammaging. Elevated inflammatory states compromise barrier function, rendering the tissue vulnerable to hyper-reactive conditions such as eczema and psoriasis. By down-regulating the synthesis of pro-inflammatory cytokines, spermidine helps stabilize the skin microenvironment. In simpler terms, it acts as a molecular calming agent, turning down the cellular stress signals that cause redness, irritation, and barrier damage. Spermidine and Collagen Production Spermidine up-regulates collagen synthesis within dermal fibroblasts. Collagen serves as the primary structural protein responsible for extracellular matrix density and tensile elasticity, both of which systematically deplete during chronological aging. By stimulating this foundational synthesis, spermidine directly preserves structural volume and counteracts the degradation of our support architecture. To put it clearly, it tells your cells to rebuild the vital internal scaffolding that keeps skin firm, smooth, and resilient over time. For more actionable strategies on preserving structural matrix density, review our specialized guide on combating wrinkles. The Science of Spermidine Spermidine has long been a primary focus within geroscience and longevity medicine due to its profound impact on life extension pathways. Initially celebrated for its ability to regulate autophagy, which is the vital mechanism responsible for cellular clearance and structural regeneration, this polyamine is now deployed topically to optimize skin health at a foundational level. By stimulating cutaneous autophagy, spermidine actively dismantles and removes accumulated metabolic waste, damaged proteins, and dysfunctional organelles within the tissue. In simple terms, it acts as an internal recycling system for your skin cells, clearing out the molecular clutter that causes visible aging so your tissue can function at its peak. Incorporating Spermidine into Your Skincare Routine Integrating targeted spermidine formulations into your daily regimen systematically shifts the skin from a state of passive maintenance to active biological optimization. Consistency is mandatory, as the cumulative effects of polyamine therapy expand over time to reinforce the cutaneous baseline. Synergizing spermidine with complementary molecular compounds, such as NAD+ precursors and resveratrol, creates a compounding kinetic effect that maximizes cellular repair and energy production. Essentially, combining these ingredients gives your skin both the recycling power to clear out damage and the cellular fuel to build healthy new tissue. For a deeper analysis of how NAD+ supports these vital repair pathways, review our complete breakdown of topical NAD+ for skin health. To ensure you are not inadvertently blocking these active pathways, listen to our podcast on the mistakes you’re making with your skincare. Spermidine Skincare Formulations To harness the profound potential of polyamine therapy, Young Goose has engineered two targeted formulations: Youth™ Reset Serum and Youth™ Daily Cream. These specialized protocols integrate stabilized spermidine to address the 12 hallmarks of aging at a systemic cellular level. Youth™ Reset Serum delivers a highly concentrated matrix of NAD+ precursor nanoparticles, spermidine, Enhanced Copper Peptide Complex, MAP Vitamin C, Enhanced Fermented Resveratrol, and Hyaluronic Acid directly into the deeper cutaneous layers. This formulation is specifically engineered to interface with hydrophilic, water-based cellular pathways. By optimizing fluid-phase cellular mechanisms, the serum amplifies deep tissue regeneration and fortifies endogenous antioxidant defenses. In daily application, this means the treatment absorbs completely into the deep layers of your skin to restock cellular energy and smooth the skin infrastructure from within. Youth™ Daily Cream synergizes micro-encapsulated NAD+ precursors, spermidine, Enhanced Copper Peptide Complex, and Enhanced Fermented Resveratrol to drive continuous tissue optimization. This formulation specifically targets lipid-phase cellular processes, delivering vital nourishment to reinforce the intercellular lipid matrix and structural barrier integrity. Practically speaking, this advanced cream locks in critical moisture and repairs your skin's outer shield, keeping the surface resilient against environmental stressors. The Future of Spermidine Skincare Spermidine is established as a foundational pillar in longevity-focused dermatological research due to its critical role in sustaining intracellular homeostasis and cellular renewal. Through the molecular engineering of Youth™ Reset Serum and Youth™ Daily Cream, Young Goose has stabilized this potent polyamine, offering clinical-grade protocols that deliver systematic age optimization. As these advancements progress, the frontier of cellular optimization continues to transcend traditional topical boundaries. The Young Goose Youth™ collection represents a paradigm shift into topical geroscience, an advanced discipline that bridges systemic cellular longevity with targeted cutaneous engineering. This specialized field integrates advanced metabolic science with structural tissue optimization. Rather than relying on superficial cosmetic coatings, it repairs and stabilizes the skin's biological infrastructure at the mitochondrial and cellular levels. Put simply, instead of pretending to fix aging on the surface, this approach rewrites how your skin functions from the inside out, aligning perfectly with the cellular recycling principles of spermidine therapy. To analyze how polyamines and complementary bioactive compounds compound their cellular efficacy, explore the complete Young Goose collection of advanced biohacking skincare.
Spermidine Skincare: The Science of Cellular Autophagy and Longevity
Traditional cosmetic paradigms frequently prioritize superficial trends over cellular integrity. In contrast, advanced longevity research has identified spermidine skincare as a foundational mechanism for true physiological optimization. Spermidine is globally...


